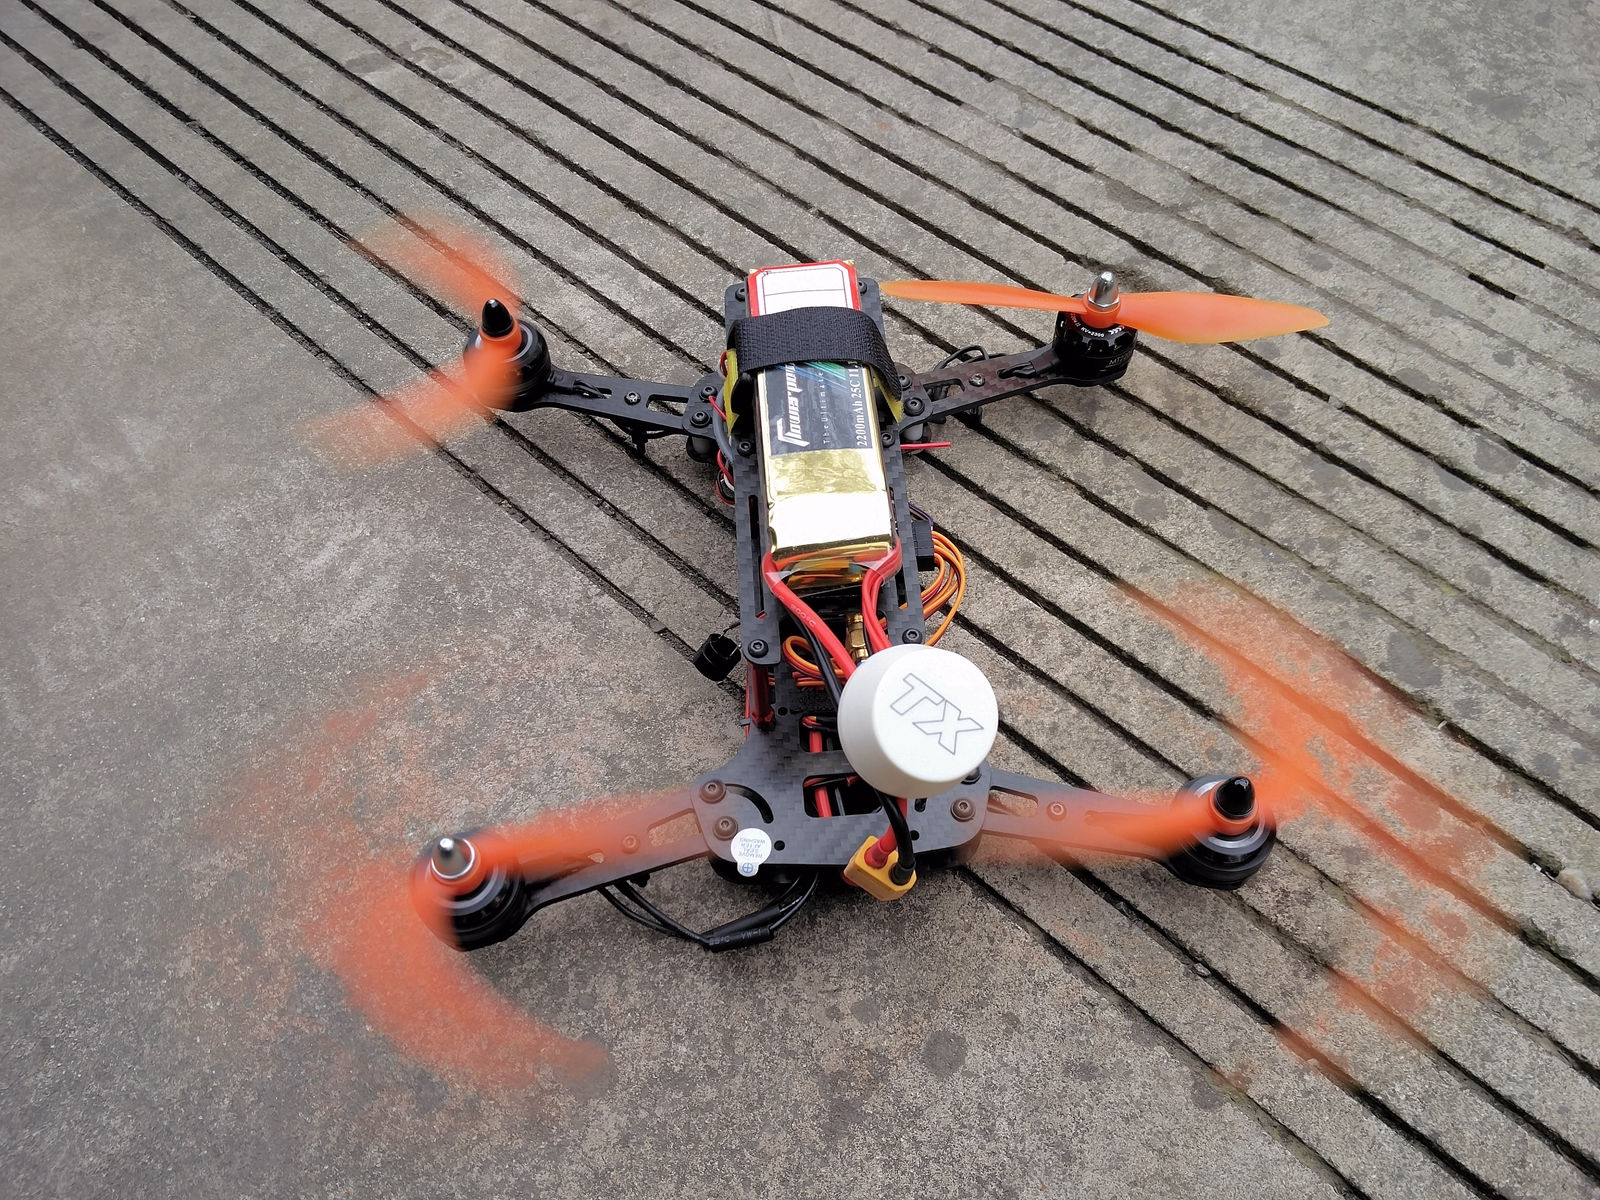
目前穿越机很火啊~ 忍不住自己也装了一架。
飞控:NAZE32 v5
OSD: MinimOSD电调:银燕EMax 12A
电机:银燕MT2204II
摄像头:SONY 700线
机身:GE260Z折叠机架
目前穿越机很火啊~ 忍不住自己也装了一架。
飞控:NAZE32 v5
OSD: MinimOSD电调:银燕EMax 12A
电机:银燕MT2204II
摄像头:SONY 700线
机身:GE260Z折叠机架
If you are using a wired connection on your PC or using a USB connection with your 3G or 4G LTE dongle, you can share this connection to other devices. This means you can connect other smartphones, tablets and even laptops to this connection by creating aportable wireless hotspot on Windows 10. There is no direct UI to create the hotspot, but you can easily do it using few commands.
In this article, we will show you how to get started in creating a wireless hotspot in Windows 10.
To get started, right click on the Windows start button and click Command prompt (admin). This will open the command prompt in administrator mode.
Now type the following command;
netsh wlan set hostednetwork mode=allow ssid=AdHoc key=password
In the above command, you can add your own value for SSID and enter your key. Now press enter.
Now to start the network, type the below command;
netsh wlan start hostednetwork
Now that ad-hoc connection is created with passkey, you need to share the existing connection.
Once the hosted network is enabled, you can see MyWiFi connection listed in the network and sharing center. Now the network needs an internet connection and for this, you need to share the existing active Internet connection. Right click on your existing internet connection and select properties.
Now select the Sharing tab in properties. Check the box against “Allow other network users to connect through this computer’s internet connection”. Then select the newly created Wi-fi connection from the drop down list. Now save the details and close the properties.
Now you can see Internet available on the new hotspot connection created.
In case you want to stop the hosted network, use this command;
netsh wlan stop hostednetwork
If you find this method difficult, you can probably use tools like Virtual Hotspot,Connectify or mHotspot.
Ref: http://www.nirmaltv.com/2015/08/18/how-to-create-a-wi-fi-hotspot-in-windows-10/